Mastering Squat Rack Safety Bars: A Complete Guide for Your Workout
Understanding the Importance of Squat Rack Safety Bars
Utilizing squat rack safety bars is crucial for ensuring proper form and preventing injury during your squat exercises. These bars provide a safety net in case you reach failure while lifting heavy weights, allowing you to safely exit the squat position without risking injury.
Proper Placement and Adjustment
Before starting your squats, adjust the safety bars to an appropriate height–a few inches below the lowest point of your squat. This ensures that the safety bars will catch the barbell if needed. Always double-check the placement to avoid any accidents during your workout.
Testing the Safety Bars
To test the safety bars, perform a few squats with just the barbell but without any added weight. Gradually descend as if you were performing a regular squat and ensure that the safety bars are set at the right height to catch the barbell when needed.
Utilizing Safety Bars for Different Squat Variations
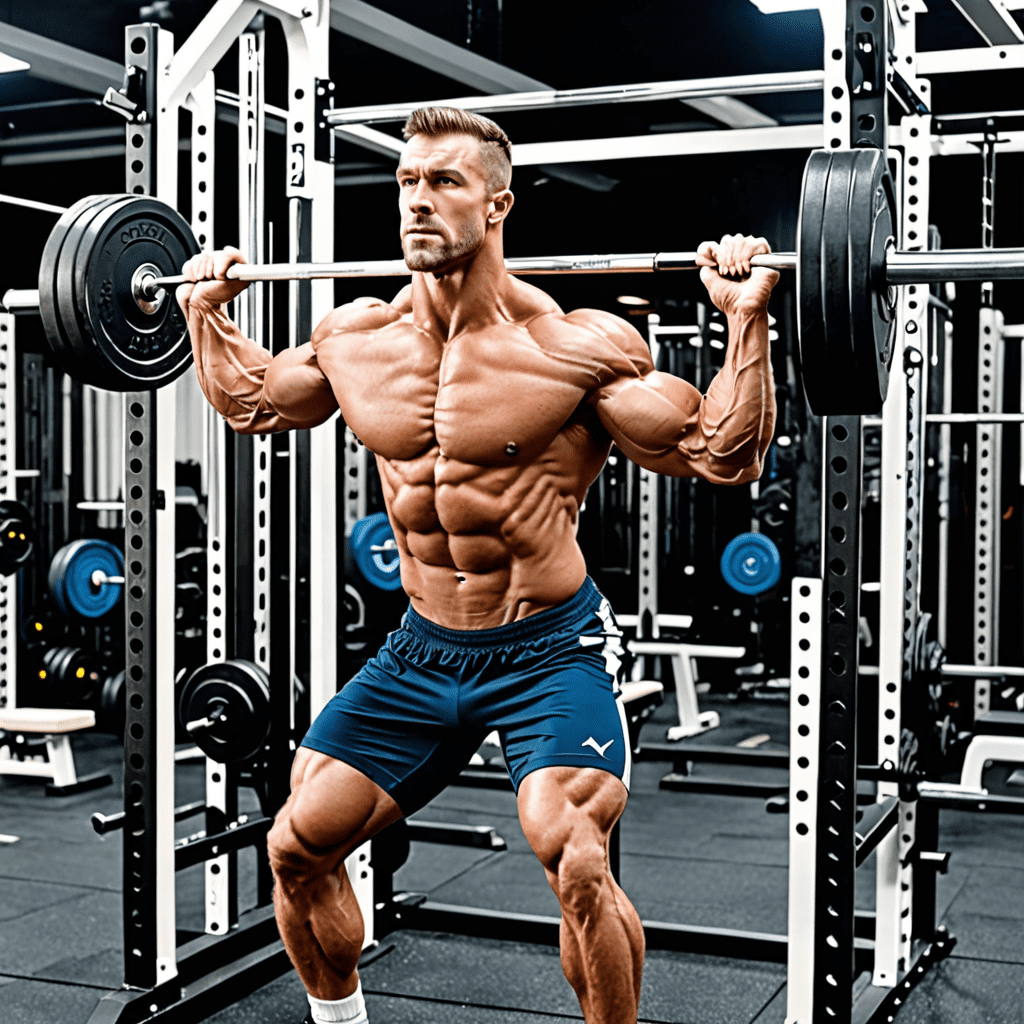
Whether you’re performing traditional back squats, front squats, or any other squat variation, the safety bars are essential. Adjust the height according to the type of squat you are performing to ensure that they provide sufficient protection throughout the full range of motion.
Common Mistakes to Avoid
One common mistake when using safety bars is setting them too high or too low. Setting them too high may limit your range of motion, while setting them too low may compromise safety. Always take the time to adjust the safety bars properly before starting your workout.
Understanding Weight Capacity and Limitations
It’s important to be aware of the weight capacity of your squat rack and safety bars. Exceeding the weight capacity can lead to equipment failure and potential injury. Be mindful of the weights you are using and ensure they are within the limits of the equipment.
Frequently Asked Questions (FAQ)
Coming soon…